Grain spoilage can start long before anything looks wrong in the bin. A small pocket of warm or damp grain may develop in the core or under the peak while the rest of the grain seems fine. By the time you notice a musty smell, crusting, or a clear rise in temperature, grain quality may already be declining.
Knowing which warning signs to watch for can help you catch spoilage early enough to correct the problem or limit its spread. This guide covers what to look for, where to check, how often to inspect your grain, and what to do if you spot signs of spoilage.
Why early spoilage can be hard to spot
Grain is a good insulator, so a hot spot can build for weeks before the surrounding grain warms enough for a temperature cable to detect the change.
Moisture also moves within a bin, creating localized areas of higher moisture. Where these areas develop can change with the season and conditions. In fall and winter, for example, cold air sinks along the bin walls, then moves inward, warms and rises through the grain, carrying moisture that can collect near the top centre of a cooled bin.
Even bins that seem low risk can develop hidden spoilage. Grain that went into storage cool and dry can still develop problems if pockets of higher-moisture grain or concentrations of fines are present. These hidden trouble spots can catch farmers off guard.
Early signs to check in stored grain
Temperatures that stop falling or start rising
After harvest, grain temperature should generally trend downward as the weather cools. If a bin stays at the same temperature while outside temperatures drop, or one sensor starts rising while the rest of the cable remains steady, it’s worth taking a closer look.
During mild or warm weather, grain temperatures may naturally stay steady or rise slightly. This can make unusual heating harder to spot, so look for changes that stand out from the normal temperature trend.
Regular grain bin temperature monitoring provides a clearer picture of how stored grain is changing over time. Watching trends rather than individual readings makes unusual heating easier to recognize.
Moisture building near the top centre
The top centre of a grain bin is a common place for moisture to collect. Spoilage can develop here early, before affecting other parts of the bin, so it is an important area to check.
Look at the top of the grain for dampness, condensation, or grain that appears darker than the surrounding grain. Also check the underside of the bin roof for moisture. If your bin has moisture cables, watch the upper sensors closely. A rising moisture reading can provide an early warning of a developing problem.
Crusting, clumping, and sweating
Physical changes in the grain can appear before a noticeable temperature increase. Look for:
- Crusting on the surface: Check for a hard or matted layer on top of the grain. Use a probe or rod to break through the surface and check how deep the crusting or damp grain extends.
- Clumps in samples: Look for kernels or seeds that stick together when you disturb a sample. Clumping, especially when accompanied by a musty smell, can be an early sign of spoilage.
- Sweating on the roof or walls: Look for water droplets under the bin roof, moisture on the walls, or damp grain around the edges of the bin. These are signs that excess moisture is present.
Musty, sour or burnt odours
Pay attention to any unusual smell when checking or sampling grain. A musty odour can be an early sign of mould or spoilage, while a sour smell can indicate that deterioration is already underway.
A burnt or roasted smell is a more serious warning sign and can indicate that the grain has heated significantly. At this stage, you may also notice changes in colour, such as blackened wheat kernels or canola seeds that are dark brown or black inside.
Investigate any unusual odour promptly, even if temperature readings don’t show a clear problem.
Insects and mites
Check grain samples for live insects or mites, which may be present before temperature cables show a noticeable change. Probe traps can help detect insects, while a No. 20 or No. 30 mesh sieve can help identify mites. If you find live insects or mites, inspect other areas of the bin for signs of infestation.
Rising CO₂ in the headspace
A rising CO₂ level in the bin headspace can be an early sign of increased biological activity caused by mould, insects, mites, or spoiled or damp grain. Because CO₂ levels can rise before a temperature cable detects unusual heating, monitoring CO₂ provides another way to identify developing problems early.
For CO₂ monitoring in grain, Adaptive Agriculture’s headspace CO₂ sensor connects to the V2 Bindapt+ 2.0 Monitor, allowing you to track CO₂ readings alongside temperature and moisture cable data for the same bin.
Where to check in the bin
Some areas of the bin are more prone to spoilage than others, so pay particular attention to these areas:
- The top centre under the peak: Moisture often collects here in fall and winter. Levelling the grain after filling can help reduce moisture accumulation near the top centre, but this area still needs regular attention.
- The central core: Fines often collect in the centre of the bin, restricting airflow and increasing the risk of heating and spoilage. Use temperature and moisture cables or samples taken during unloading to check this area.
- Along the walls and floor: Condensation on cold steel can wet grain along the walls. Watch for problems around doors with leaking gaskets, near the edges of the floor, and under roof vents that let water in.
Check your cable coverage as well. One cable can monitor a bin up to about 20 to 24 feet in diameter, while larger bins need at least three cables for adequate temperature monitoring. Even with adequate cable coverage, small hot spots can be missed. Combine cable readings with other checks, such as cycling grain and checking for heat or unusual smells during unloading.
If you already have OPI or Bin-Sense cables, Adaptive Agriculture’s devices can read them. If your bins don’t have cables, our temperature and moisture cables can be added.
How often to check stored grain
The first weeks after harvest carry the most risk because grain is still respiring. For canola, monitor bins closely for the first six weeks, then keep checking regularly through winter.
For grain stored without aeration or turning, take samples every three to four weeks to track moisture. Check more often when:
- Grain went in tough, warm, or with green material: These bins have a higher risk of heating and need closer attention until the grain is cooled and dried.
- The weather changes sharply: Warm spells followed by sharp drops in temperature drive air movement and condensation inside the bin. Check after major temperature shifts.
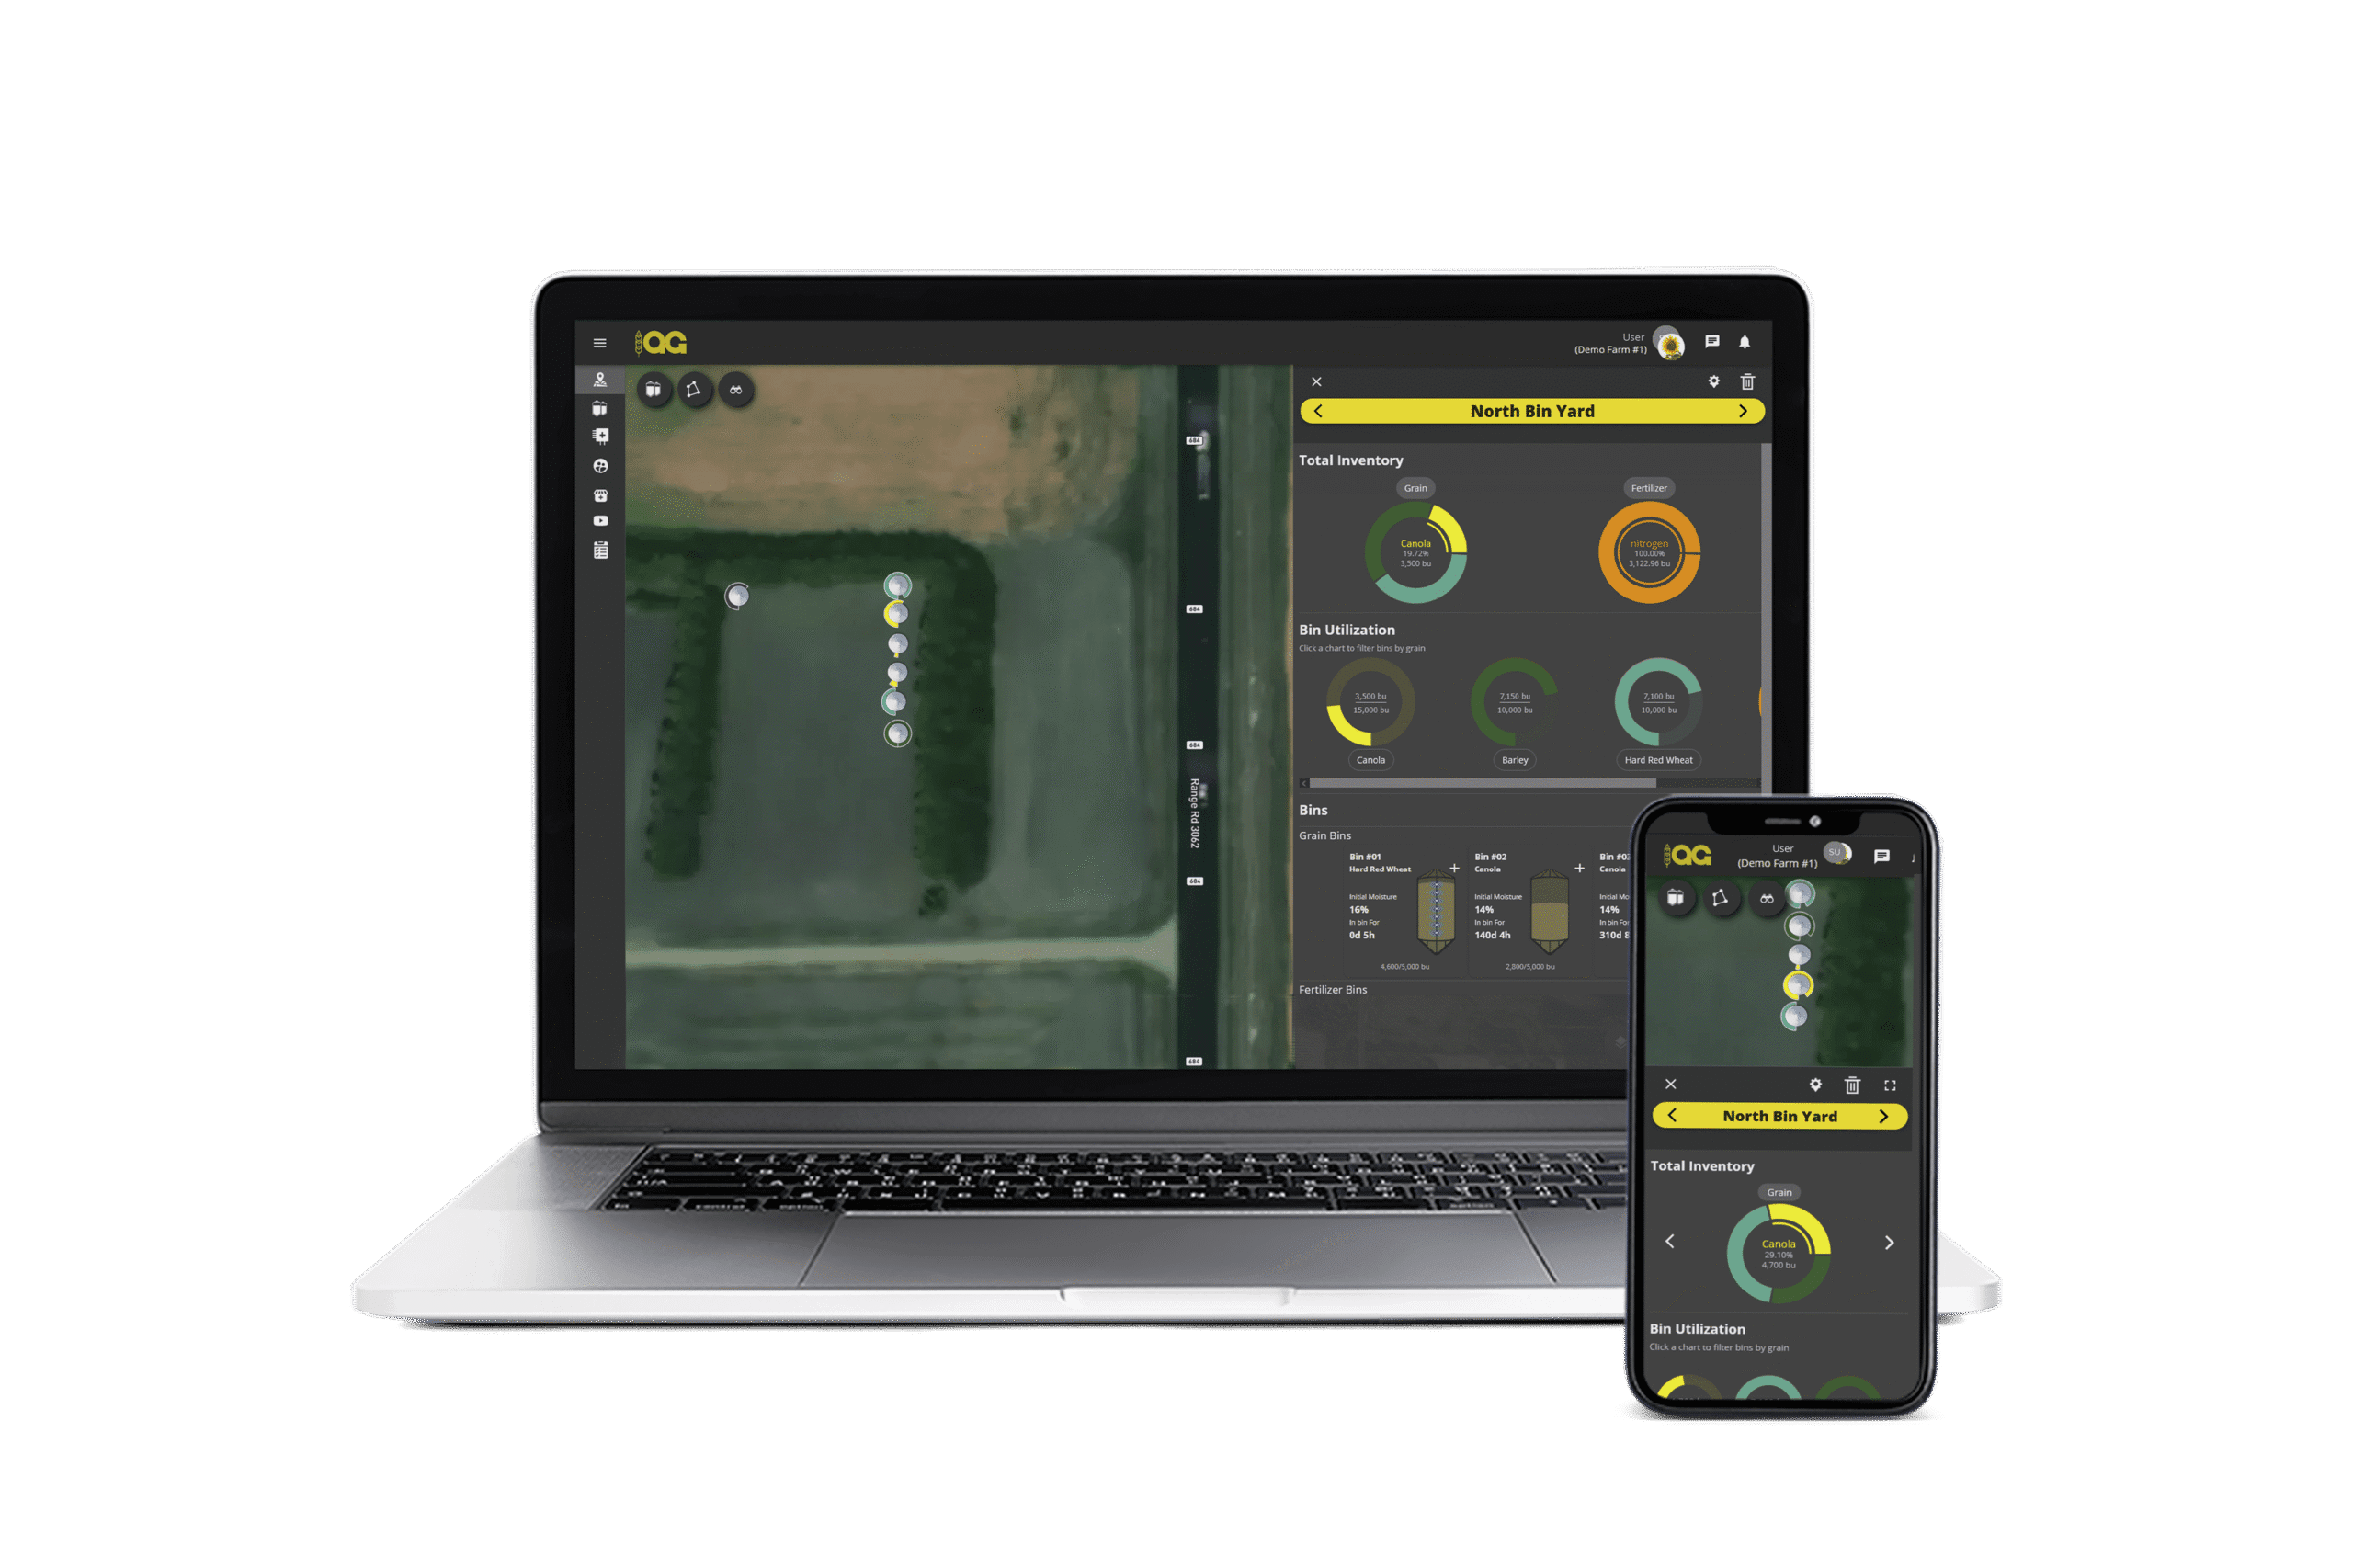
Remote grain temperature monitoring can save trips up the bin, but someone still needs to review the data. Set alerts for unusual temperature increases and review historical readings to catch gradual trends. Visual Farm logs cable history and sends text or email alerts for the bins you monitor.
What to do when something looks off
Investigate the first sign of trouble rather than waiting for the problem to become obvious.
- Run the aeration fan: When conditions are suitable, aeration can cool the grain and slow spoilage. With the V2 Bindapt+ 2.0 Automate and an Aeration+ controller, fans can run automatically based on set conditions.
- Unload or turn some grain: Moving grain can break up hot spots. For canola that is heating, move at least one-third of the bin and check the grain for heat and unusual odours as it comes out.
- Recheck moisture and temperature: Test samples from the unloaded grain. If moisture is above the safe storage level for the crop, drying may be needed in addition to cooling.
- Assess damaged grain: If grain has already heated or shows signs of deterioration, contact your elevator or processor to discuss grading and delivery options.
Stay ahead of changes in your bins
You don’t need to wait for an obvious hot spot to know a bin needs attention. A temperature that stops falling, damp grain near the top centre, an unusual smell, or rising CO2 can give you an earlier clue. Regular checks help you spot those changes and act before more grain is affected.
Adaptive Agriculture offers cable and CO2 monitoring, automated aeration, and Visual Farm to help you manage stored grain. Whether you’re outfitting a new bin or adding monitoring to an existing one, contact our team to talk through the options for your yard.
Frequently Asked Questions